Posted by Armin on Wednesday, May 12, 2021
My Raspberry Pi - based microscope camera uses the high-quality Raspi camera that was released in early 2020. It features a 12.3 megapixel Sony IMX477 sensor, with a pixel size of 1.55μm × 1.55μm, which is twice the pixel area than the previous Raspberry Pi camera model. The image quality is much better than the previous Raspi camera models, or the old AmScope 3 MP USP camera (MU300) I had been using before.

The camera has a C-mount, and it was therefore easy to attach to the adapter that came with the AmScope camera. The live preview on an old computer screen is perfect for watching small critters in action with the kids. For conveniently taking pictures, I attached a button switch on a long cable, with a short piece of PCV pipe as a hand-grip (Trigger button). The RPi4 lives on a breadboard behind the scope. (I still need to find a project box for it.)
Simple Python code makes it all work. Once the script "camera_button_trigger_simple.py" is run, a preview window opens in full screen. Pressing the trigger button takes a picture. Pressing and holding another button (the "off button") for more than two seconds ends the script. Code can be found here: https://github.com/amphioxus/raspi_camera_scripts.

RPi camera on trinocular tube.
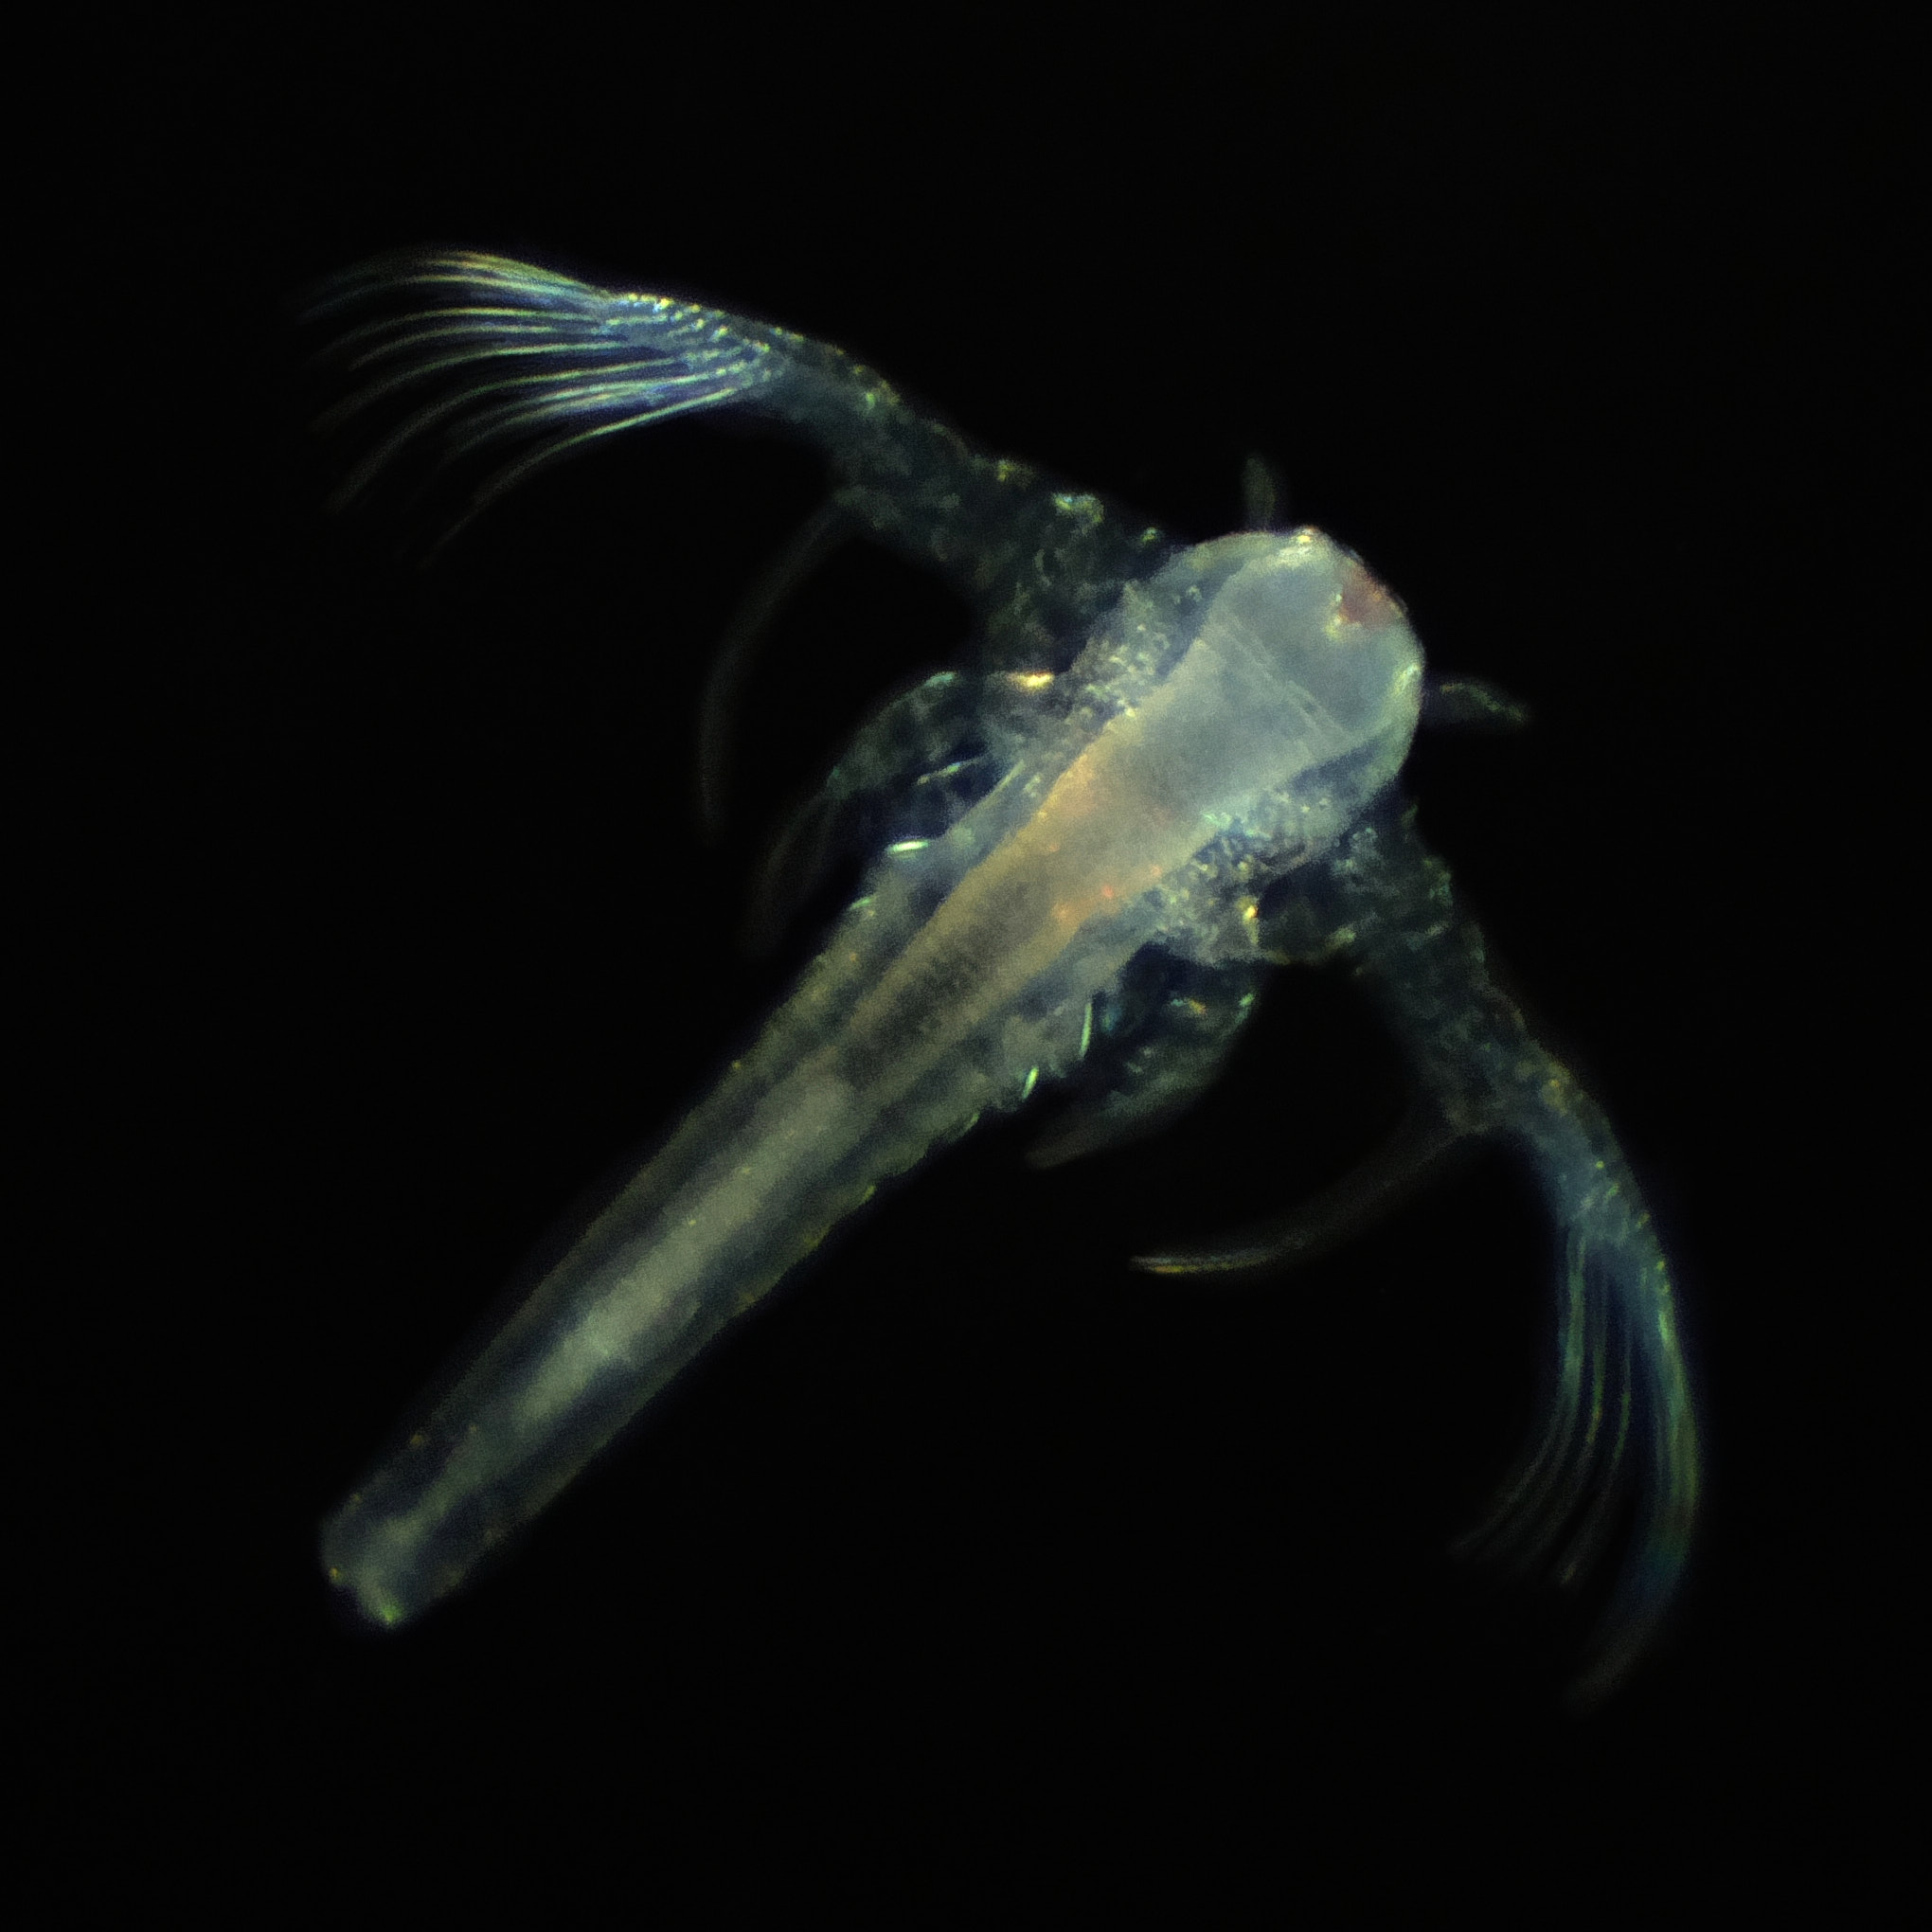
Image of a brine shrimp nauplius taken with the camera.
Category:
Making Stuff
Photos / Video
Code